Silk Headband DIY
We wanted to make a project that allowed you to create something at home while incorporating our silk scraps and inching us closer to zero waste as a brand. We also know this is an unprecedented time and everyone is looking to help where they can. For us, that means ALL proceeds for this project will be donated to help fight COVID-19. Now let’s make a silk headband!


Supplies
Supplies included in the purchased kit: silk fabric, headband frame, pins, ribbon (for clean finishing inside)
Supplies you will need/not included: scissors, hot glue gun
Optional: binder clip, tape, needle and thread, lighter, ruler
You can purchase a kit at the bottom of this post.

Steps below are meant to accompany the video
Step 1
Heat up the hot glue gun. I bought mine on Amazon for $10 . They also have one available for $5 but I haven’t tested it out.
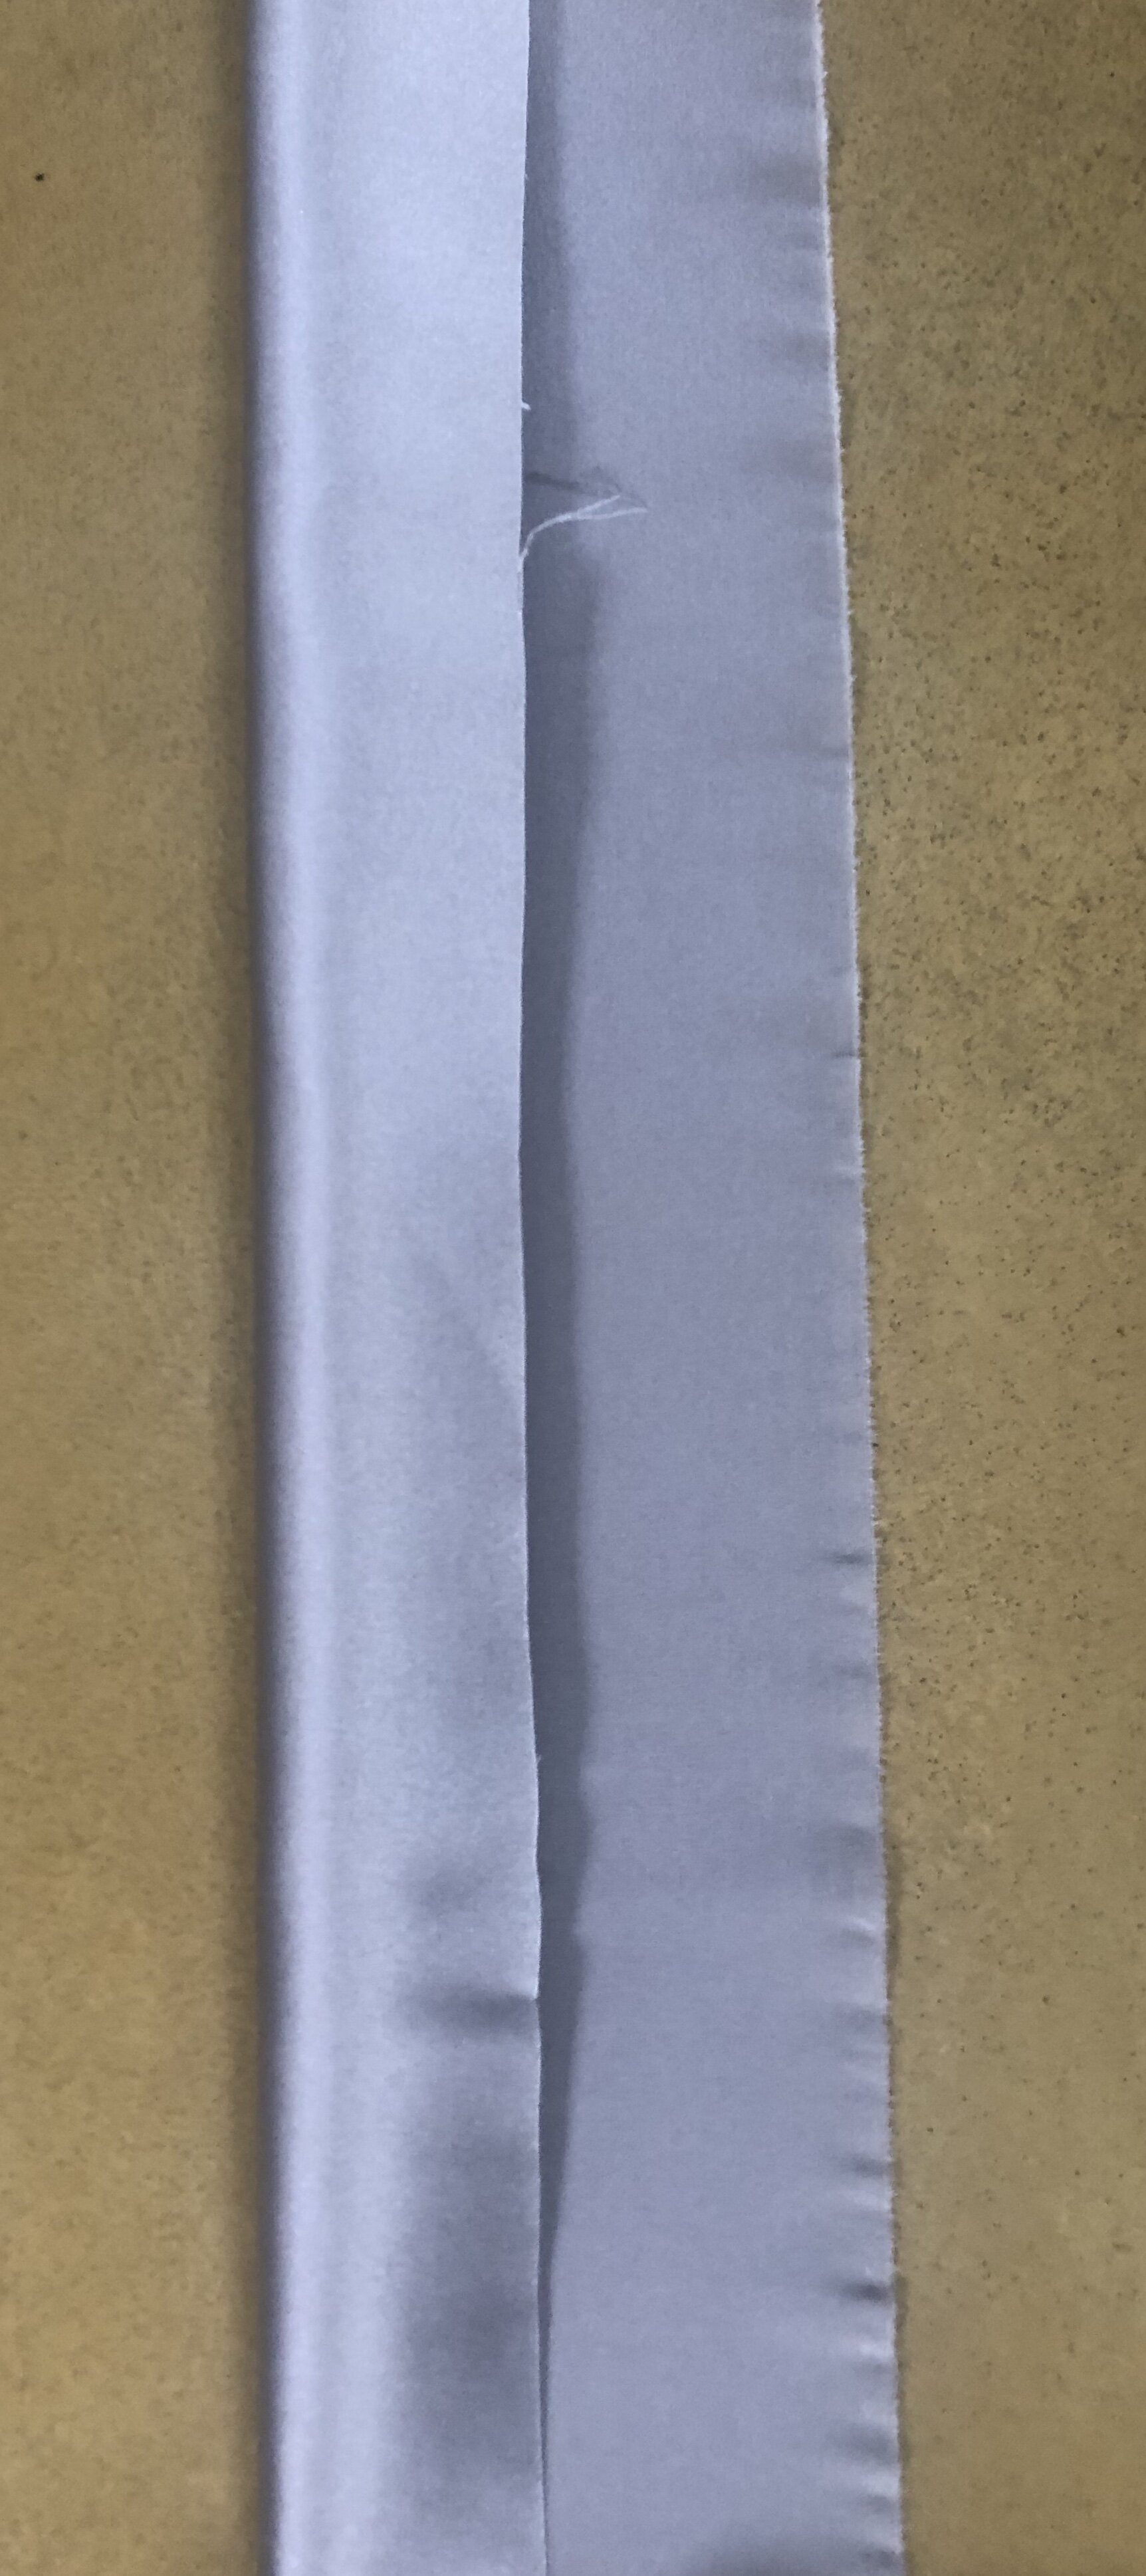
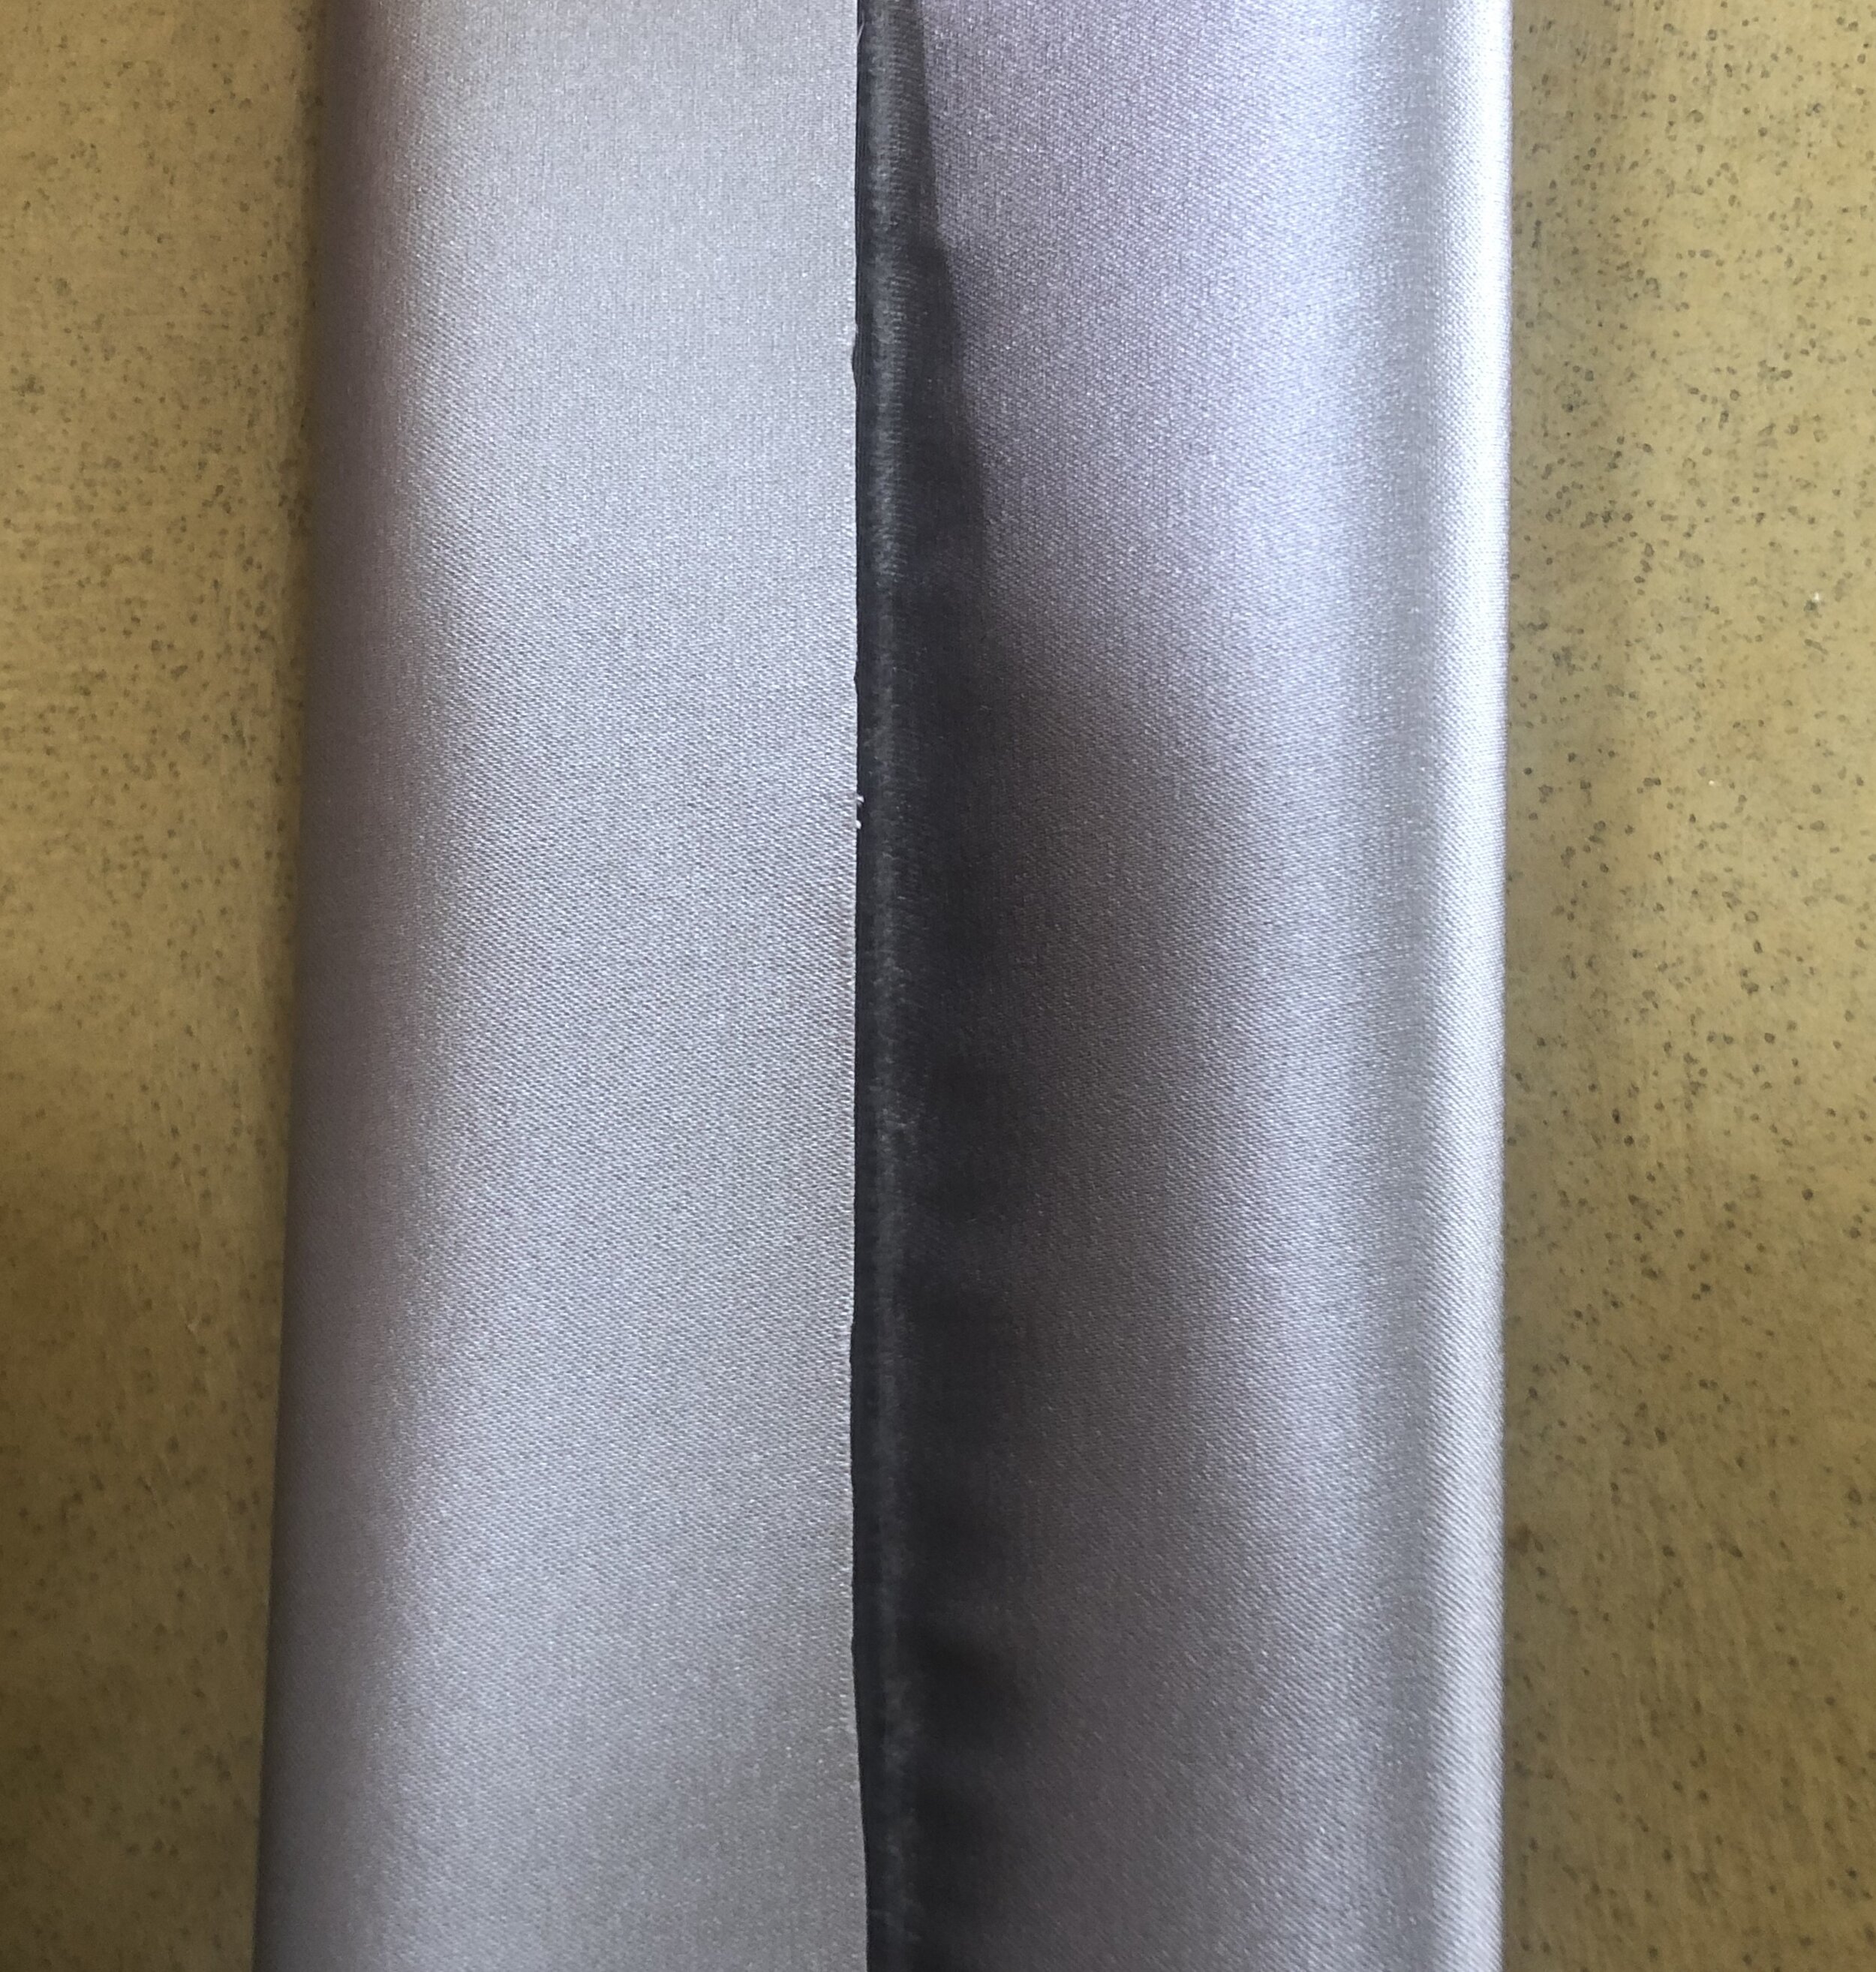
Glue the shorter rectangular piece of silk (measuring 19’’ by 2.5’’) that was given in the kit around the headband frame, shiny side facing out. Leave a 1/2 inch of silk hanging at the beginning and end of the headband. Once the silk is glued to the headband frame fold up the hanging 1/2’’ fabric at the bottom into the headband and glue down onto the frame.
Make small slits into silk along outer edge. This enables the silk to curve better around the frame.
Fold in the silk hanging around the outside of the frame so the edges meet at the inside center and glue down. Watch video for reference.
Don’t worry if the inside is messy as we will cover it up at the end.
Side note: If your silk came in wrinkled, you can iron it on a low setting with the matte side facing up, but iron lightly so you don't burn the silk.
Step 2
Take the three silk rectangles (20 1/2’’ long by 5’’ wide) that are pre-cut for you in the kit and fold each corner in toward each other. The corners will end up kissing at the center. Now fold the fabric one more time in half with the ends still kissing.

Do this with all three rectangular pieces and pin along the beginning, middle and end.
Now stack all three folded pieces of silk on top of each other. I like to use a binder clip here and clip the ends together so it’s easier to braid. You can also tape the ends to the table.
Braid all three pieces together taking out the pins as you go. When you finish, stack the ends on top of each other and re-pin through all there pieces.
I like to fluff up the braid and follow up by cutting all three pieces the same length.
Part 3
Find the middle of your braid and line it up with the middle of your headband frame. Use the binder clip to clip the end of the fabric to the end of the headband frame. You can now glue the braided silk to the top of the frame. Take out all pins as you glue!
Part 4
Clean finishing the bottom edges of the headband using the 2 pieces of self fabric sized 3’’ wide by 2 1/2’’ long (these are provided in your kit and already cut for you).

Fold top down 1/4’’ (you can iron this flat if you would like).

Then wrap around the bottom edge of the headband with the folded part toward the top and the raw edge still at the bottom.
Glue it down with the edges toward the middle of the band. Hold while it drys.
Now fold bottom edge up into headband and glue down. Repeat on both sides.
Part 5
Gluing down the ribbon along the inside edge. I like to burn the edge of my ribbon so it does not fray. This part is pretty simple I just place the ribbon down at the bottom edge of the frame and glue it down along the inside. The ribbon clean finishes the inside mess.
Voila! Now your silk headband is done! We can’t wait to see you rock it - tag us on instagram @larissakatelingerie.

You can purchase a kit below.
We are donating all proceeds minus shipping to the World Heath Organization.